Ronin-SC complete rundown

Ronin-SC complete rundown
DJI STORE AU
Summary
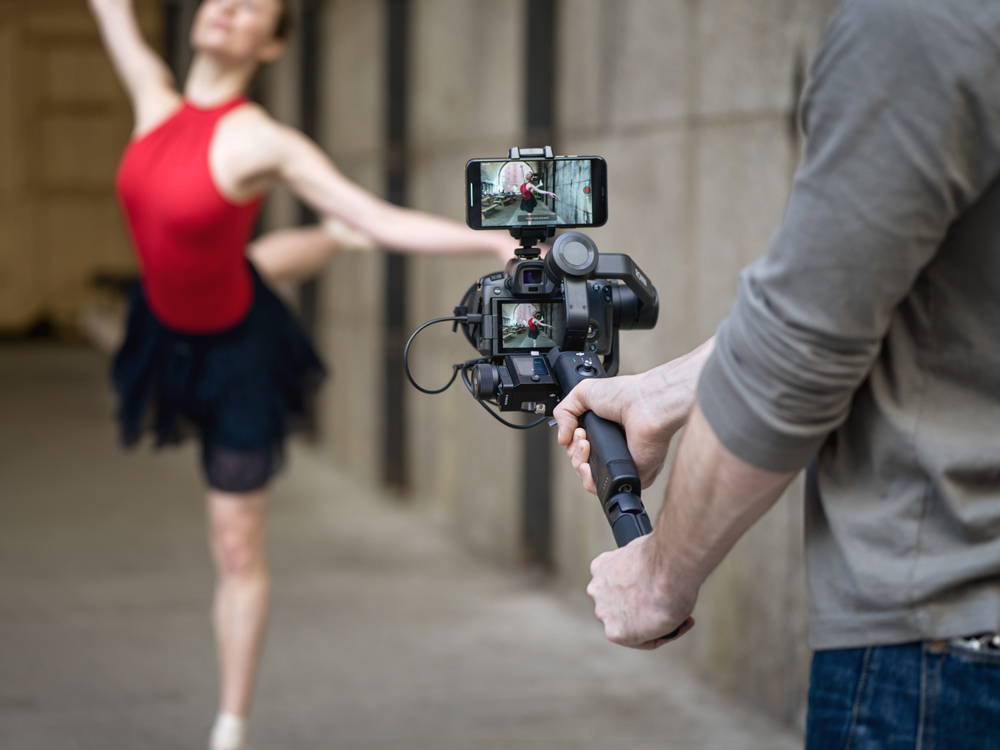
DJI Ronin-SC is a professional 3-axis single handed gimbal that has been specially designed for mirrorless and compact cameras. There are a wide range of operating modes that include SmoothTrack, Lock mode and sport mode which allows users to capture fast-moving scenes effortlessly. Not only this, the 360 roll algorithm has been updated and finely tuned to enable users to shoot smooth rotational footage with ease.
DJI has taken great steps to include locks for each individual axis that helps the user when it comes to balancing and convenient storage. With the Ronin-SC, users can control the movement of the gimbal and switch control profiles easily with a click of a button. Used with the provided camera control cables, the Ronin-SC is able to control shutter, recording and focus. With the accessory ports, users can attach accessories such as the focus wheel and the focus motor.
The gimbal and grips are detachable, with a battery in the grip with capacity of 2450 mAh, providing a maximum standby time of up to 11 hours*.
After connecting to the Ronin app, it’s easy to control gimbal movement and parameter settings with intelligent functions such as Panorama, Time-lapse, Motion lapse, and Motion control. Furthermore, you can shoot smooth footage with automatically tracking a subject with Active Track 3.0 and use Force Mobile to control the gimbal by tilting and rotating your phone. Force Mobiles utilises the gyroscope in your phone to feed that information to the Ronin-SC.
Motors
The Ronin-SC has been tested and designed to support a maximum payload of 2.0KG. (This is the total combined weight of the camera, lens and other accessories, including the phone mounted on top if using active track 3.0).
There are three switches located next to the motors that lock their respective axis. If you accidentally leave them locked and turn the Ronin-SC on, the Ronin will beep at you to remind you to unlock the motors.

Mounting a camera
Before mounting the camera to the Ronin-SC, please remove the lens cap and make sure the battery and SD card are inserted. Any change of weight will affect the balance, therefore it is important to balance your complete set-up first. There is a riser plate included for using smaller, light weight cameras, larger lenses and the focus motor.
Mounting a phone
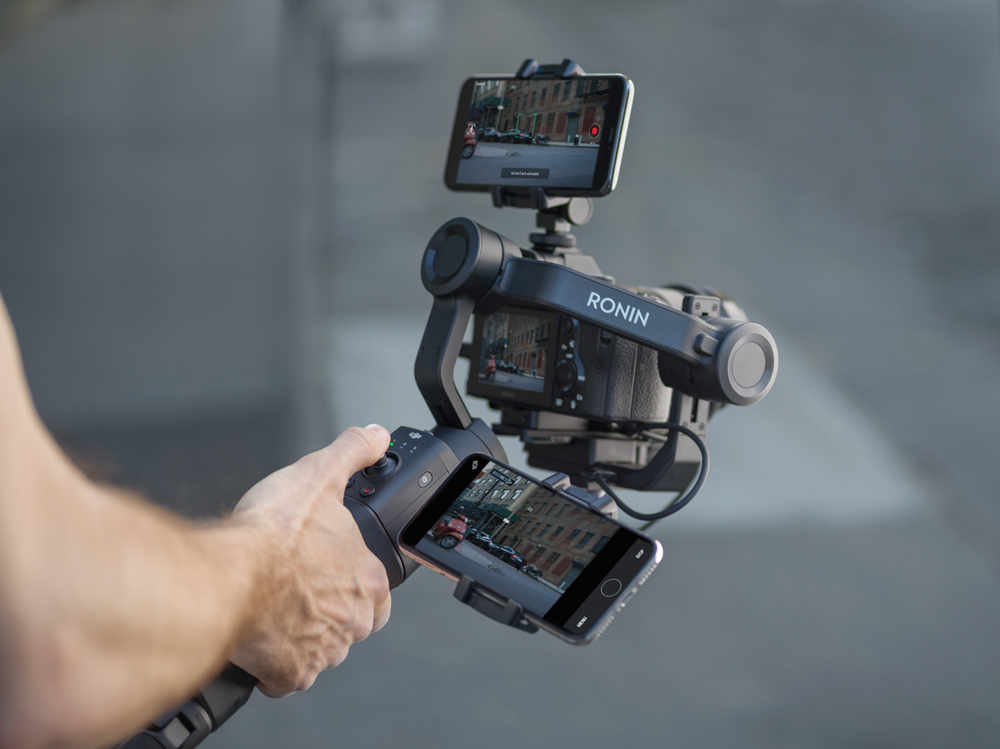
When mounting a phone for ActiveTrack 3.0, please insert the phone mount onto your camera’s hot shoe mount and set-up your phone to have the phone camera as close as possible to the cameras lens. Make sure to adjust the gimbal so it is balanced before use. You might find this set-up to be a little top heavy due to the size of the phone used.
ActiveTrack 3.0 can only be used in Underslung mode and Upright mode, not flashlight mode unfortunately.
If mounting for Force Mobile, you will need to attach the phone to a tripod or handle bar using the included phone holder.
Please be aware, force mobile is currently only supported with IOS devices.
Camera connections
There are two included cables with the Ronin-SC, a USB-C and a Multi for Sony cameras. Simply plug the cable into the phone and then into the USB-C port on the Ronin-SC. There is an included USB-C to micro-USB adaptor to use with cameras that have a micro USB connector, such as a Canon/Panasonic and a Nikon.
Half press the shutter button will auto-focus, pressing the record button will start/stop recording and holding this button down will take a photo.
Balancing
Maintaining proper balance is essential. This will help the Ronin-SC in critical shots where there is fast motion or acceleration and also gives the Ronin-SC a longer battery life. Please refer to this balancing video here:
Battery
The Ronin-SC has a battery that will last 11 hours, however the power adaptor for the battery is not included. It is recommended to use a 10W charger, with the specifications of 5V/2A to get the most efficient charging.
When travelling on a plane ensure the battery is at 30%. Do not travel with the batteries beyond 30%. If storing the battery for long periods, ensure the battery is around 40-60%.

Ronin APP
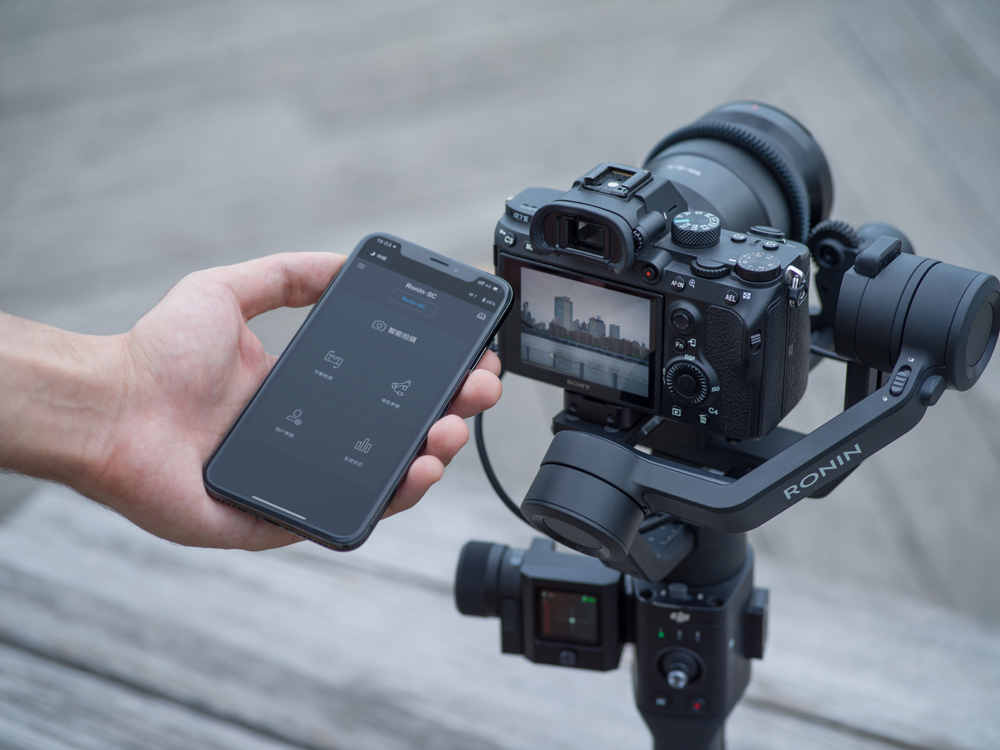
You will need to activate the Ronin-SC before use. Simply download the Ronin app, enable Bluetooth on your phone and connect to the Ronin-SC with the default password being 12345678, if the password is changed, press the M button 6 times to restore the default password.
In the app, there is a create button which has different settings for you to choose from.
Virtual Joystick
This will turn your phone into a remote and virtual joystick where you can control the max speed and smoothing of the gimbal.
Max speed allows you to adjust the remote-controlled rotational speed. The smoothing allows you to control the sensitivity of the gimbal. The lower the smoothing value, the more sensitive the movement of the gimbal.
ActiveTrack 3.0
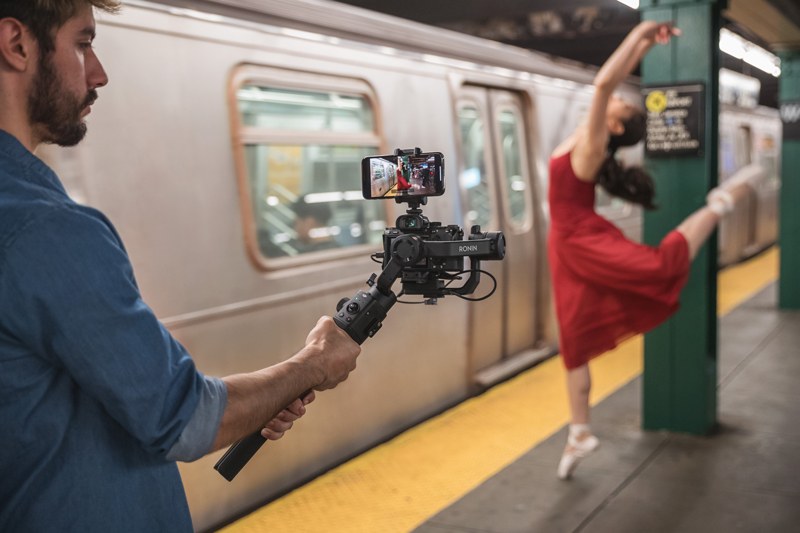
ActiveTrack 3.0 is optimised for tracking human subjects with a head and shoulder model (based off deep learning algorithms, fancy). Simply mount your phone on top of the camera and start tracking.
To select the subject you want to track, simply move the gimbal to get the subject you want to track in the selection box (the cross hairs) and press the trigger once to start tracking. You can also choose on the phone screen by drawing a box over the subject you want to track.
Once selected, use the joystick to control the position of the subject (the framing) and whilst you track, you can double tap the trigger to re-centre the object.
There is an icon on the bottom left hand corner where you can change the tracking speed from fast to slow. Fast is for fast moving object and circle shots and slow is for slow moving objects or stationary objects.
The Mobile phone will not store any videos.
Force Mobile
Force mobile will require you need use the phone holder and mount the mobile phone to a handle/tripod and after enabling this feature in the app, you can control the gimbal movement via the phones movement.
When the max speed is set to 50, the angle of rotation for the gimbal and mobile phone is a 1:1 ratio. If the max speed is set to lower than 50, the gimbal will rotate/move slower than the phones movement and if the speed is set to higher than 50, the gimbal will rotate/move faster than the movement of the phone.
Panorama
This mode allows you to capture a series of interconnecting still images with precise control based on your sensor type, lens focal lengths and your desired overlap rate. You will need to have your camera connected to the gimbal to make sure this will work.
DJI recommends an overlap of at least 30%.
The delay parameter is the interval time between shooting photos and it should be set to one second more than the shutter time to avoid blurred footage when long exposing.
After the confirming the camera settings, you can set the panorama range by dragging the two white dots on the grid map. Tap the shutter button to start capture.
Time-Lapse
In this mode, you can set the Ronin-SC to capture still images with your desired time interval time and will automatically stop once completed. The duration for the time-lapse and frame rate can be set in the app.
Motion-Lapse
You can set-up to 5 waypoints for the camera to move during the time-lapse. Simply use the joystick to move to the desired location and tap the + button, to deleted a waypoint, select the waypoint and hit the trash icon. You can also preview the motion lapse beforehand to see what the results could be like.
Motion Control
Motion control is designed to capture video with up to 10 waypoints. The travel time between two waypoints can also be set. You will need to select the waypoint manually with the joystick and add that way point to the grid. Stay time will determine how long the gimbal will remain steady at the waypoint before moving to the next waypoint.
Balance adjust
This is a test in the app to see how well you have balanced the camera on the gimbal. Make sure the gimbal is not obstructed in anyway before starting the test.
Motor Parameters
It is important to tune the motors to each set-up and change.
To do so, you can use the app to auto-tune and the Ronin-SC will automatically calculate the weight of the gimbal set-up and obtain the stiffness values.
You can also hold the M button and the tripper for 4 seconds to activate auto-tune.

Important information
If the gimbal is experiencing drift (gimbal moves by itself without any input from the joystick), simply press the trigger button four times to begin the joystick calibration. Push and pull the joysticks in all directions several times and then press the trigger four times and hold the trigger again to complete calibration. (The LEDS will be red if failed).
Press and hold the trigger button to enter locked mode.
Press the trigger twice to reset the gimbal.
Press the trigger three times to turn the gimbal 180 degrees.
To enter sport mode, hold the M button down and then double tap the trigger to enter and stay in spot mode. Repeat the same process to get out of sport mode.
If you have any questions or concerns, please do not hesitate to contact us at info@d1store.com.au.
